


Before attempting to configure Scarletmail with an Android device be sure Scarletmail account is activated.
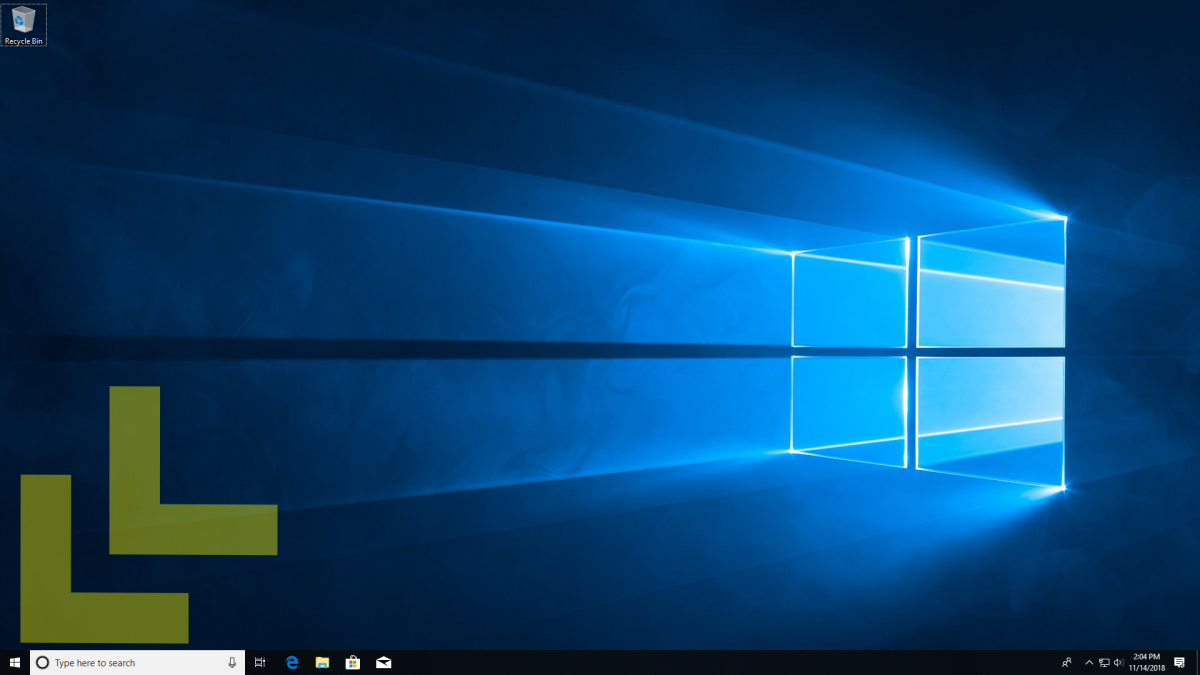
On your Windows 10 device, click or tap on the Start Menu in the bottom right-hand corner.
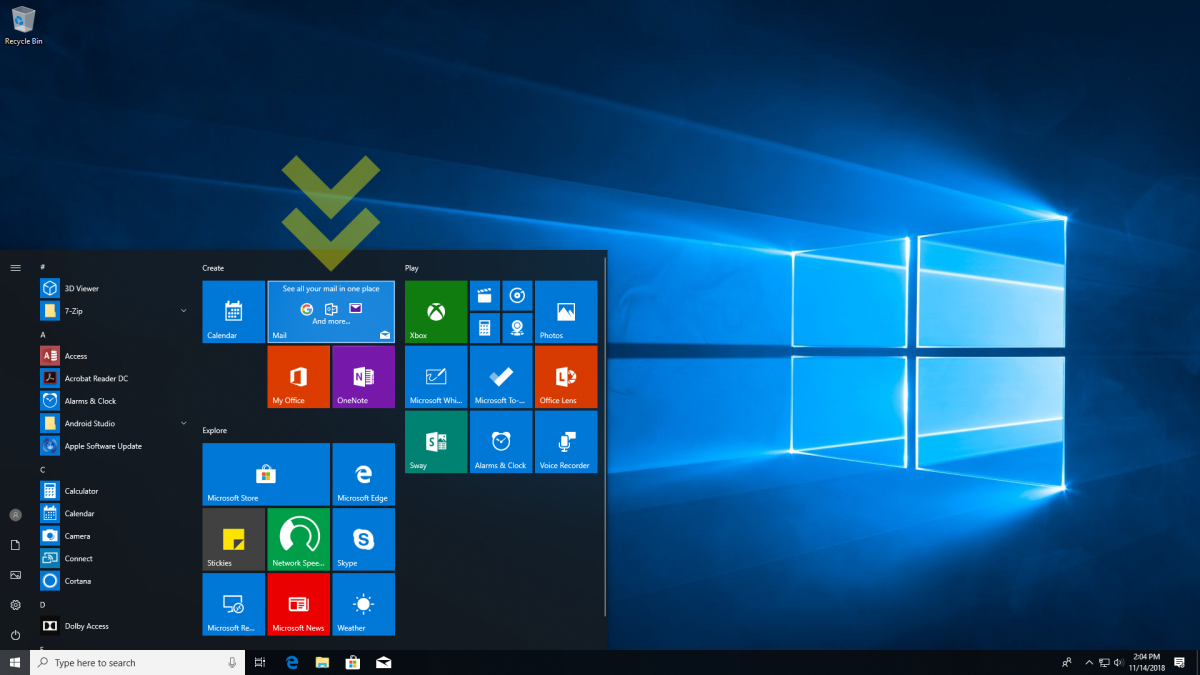
Select the Mail app icon from the start menu. If you do not see a pinned Mail icon, you can type “Mail” in the box that says “Type here to search.”
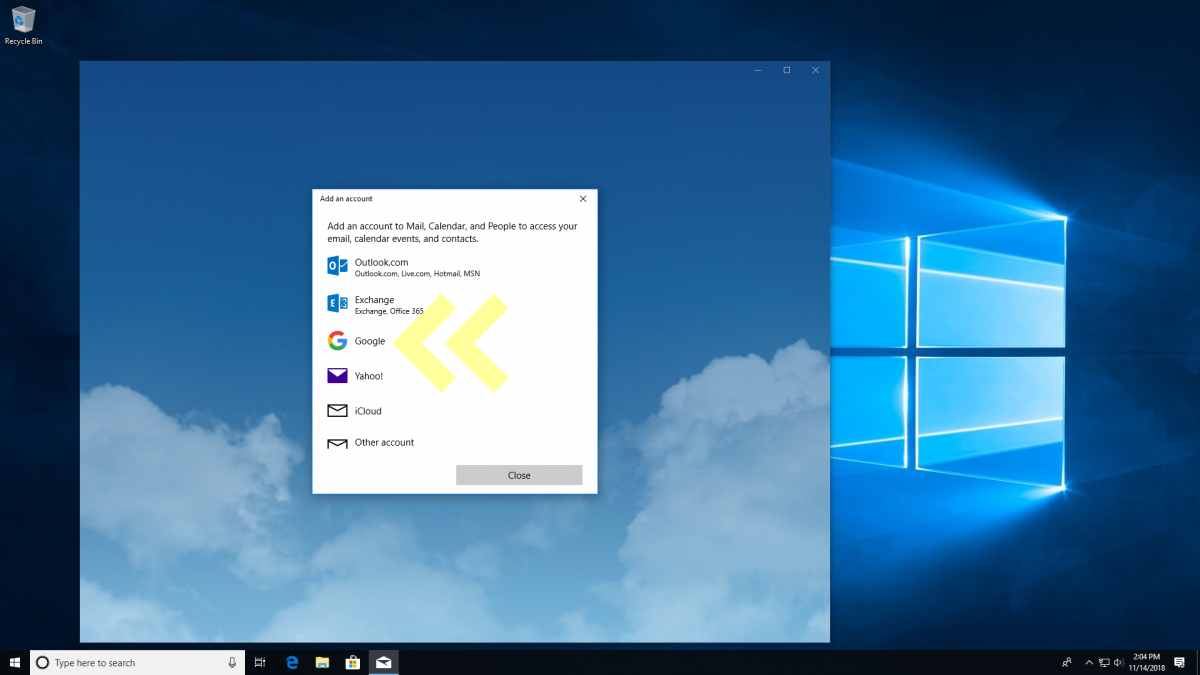
Once the Mail app opens, you will be prompted to add an account. If the prompt does not appear, you can select “Accounts” on the left side of the screen, and then “Add Account” on the right side of the screen. Select Google from the list.

On the page to connect a Google account, enter your ScarletMail in the format netid@scarletmail.rutgers.edu and select Next.
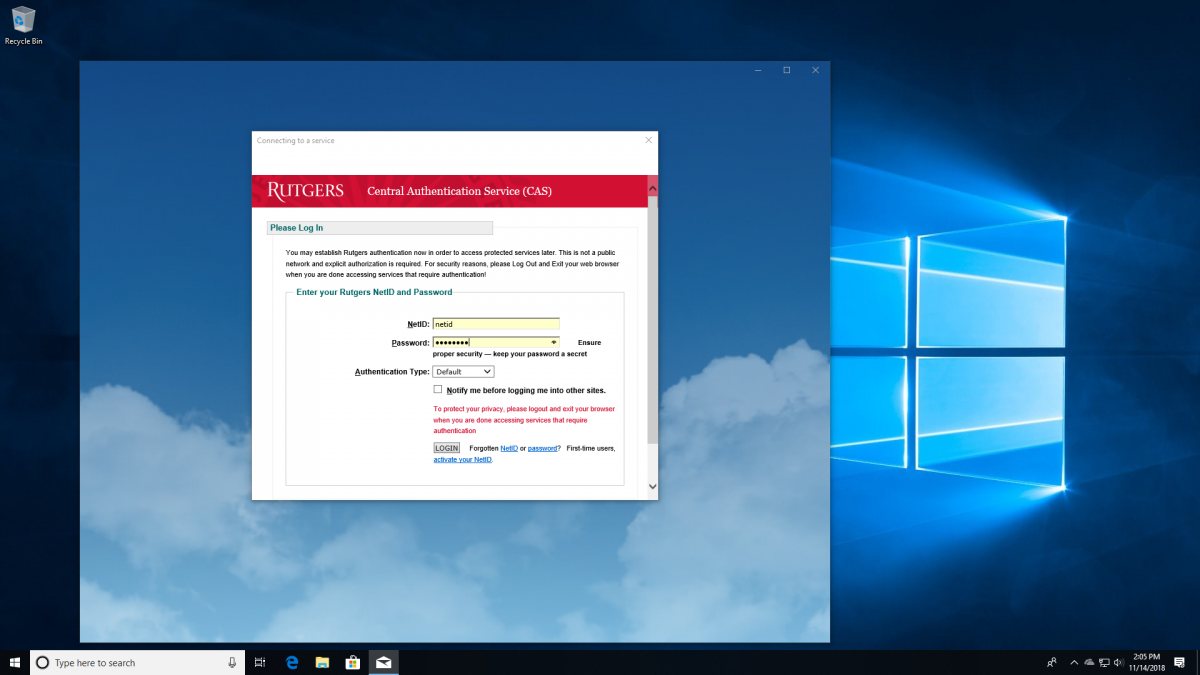
You will be redirected to Rutger’s Central Authentication Service (CAS.) Enter your NetID and NetID Password. Tap LOGIN.
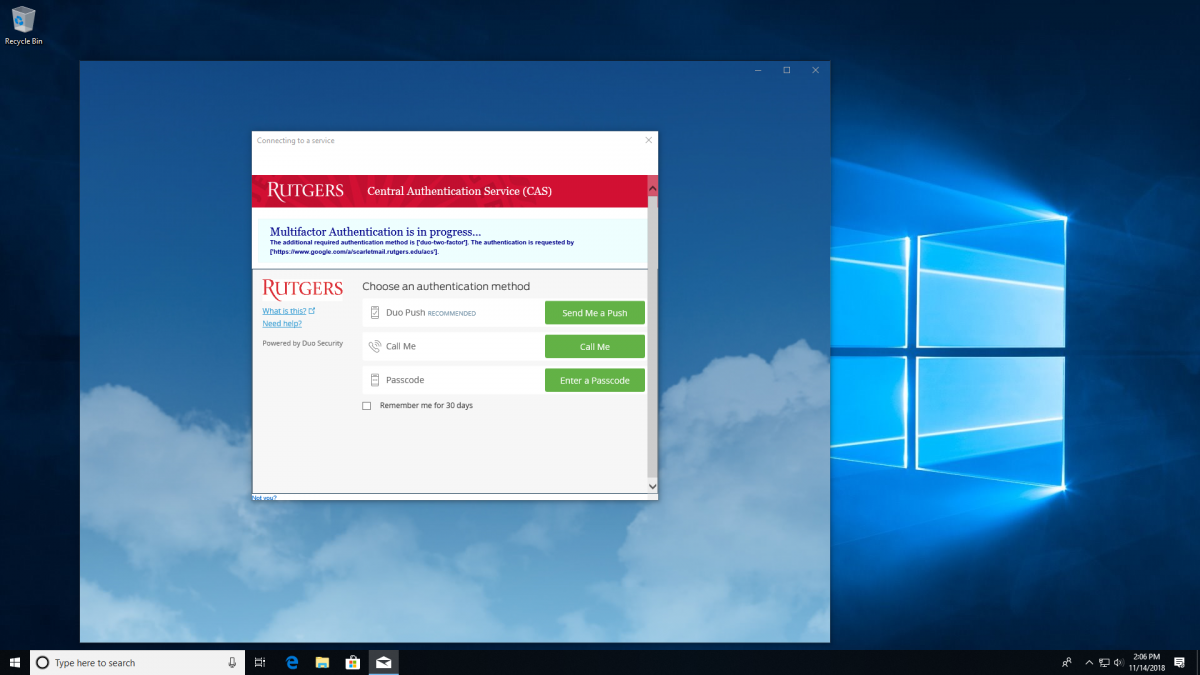
If you are enrolled in NetID+ you will see the above screen. Select the appropriate option and approve the login. If you are not enrolled in NetID+ you will not see the above screen.

You will be prompted to allow Windows to access to your ScarletMail account. Select Allow.
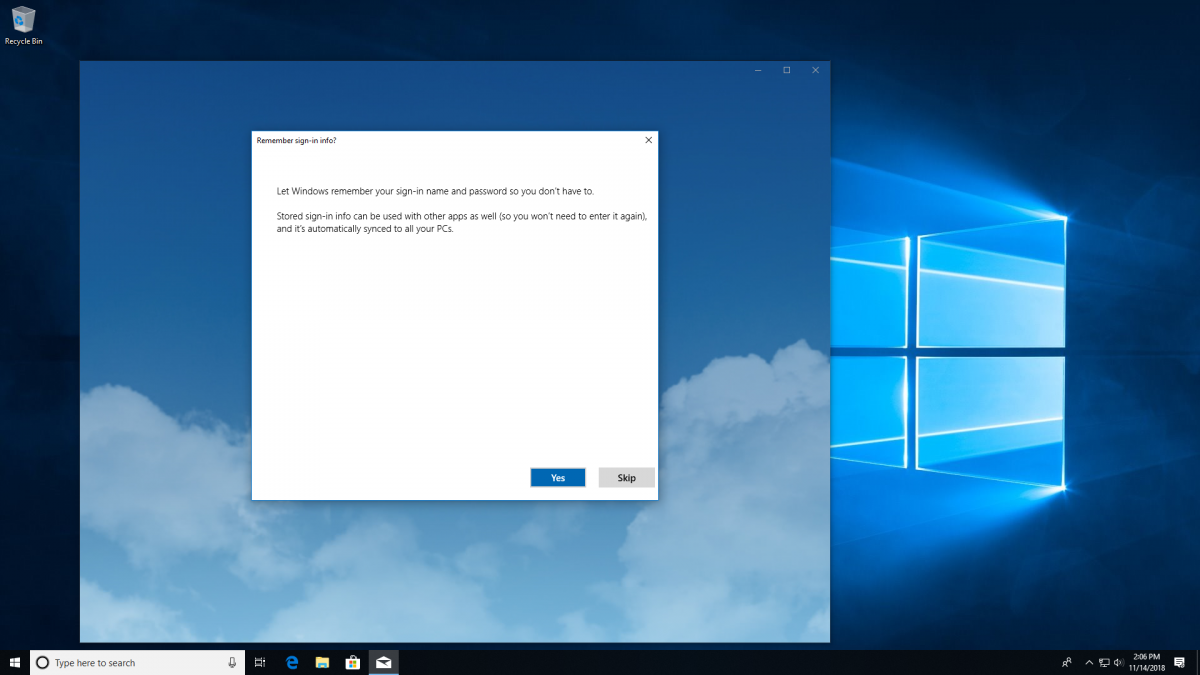
You will be prompted to allow Windows to remember your ScarletMail login information. You may choose to accept this by selecting Yes, or deny this by selecting Skip.
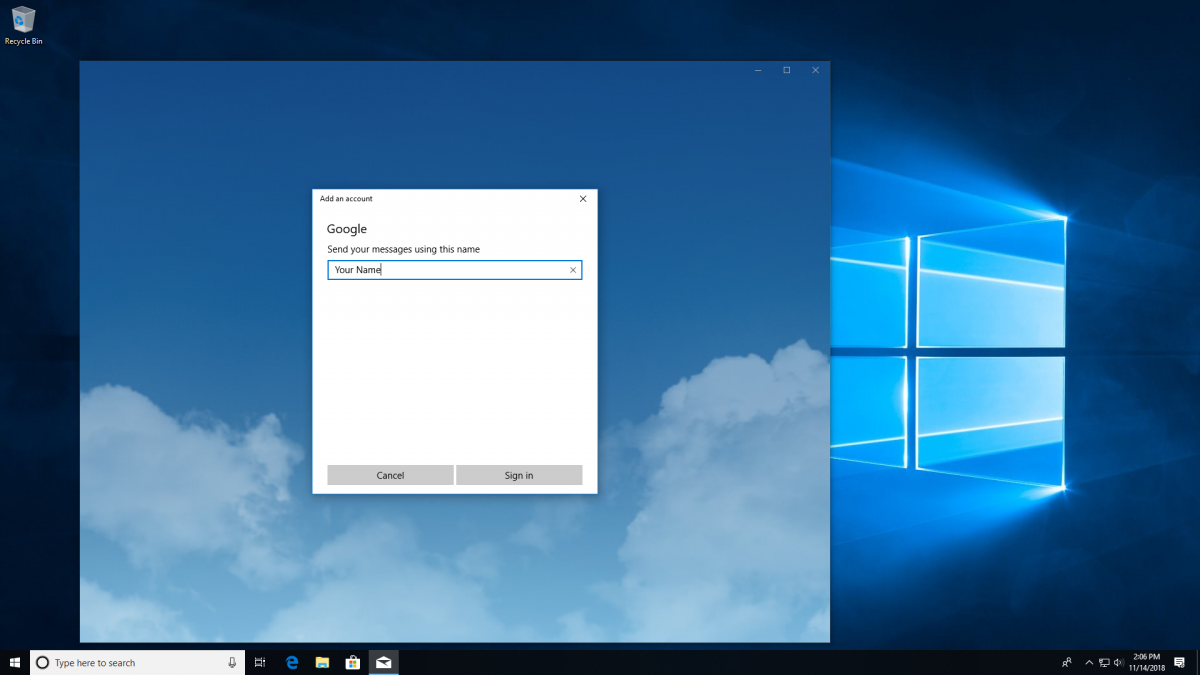
You will be prompted to enter the name you wish to use as the “From” field when sending email from the Mail app. Type your name and select Done. You can now access your ScarletMail from the Mail app.