


Before attempting to configure Scarletmail with Outlook be sure the Scarletmail account is activated.
-
Configuring ScarletMail for Less Secure Apps
Recently Google has implemented security settings on Google Apps and Google Apps for Education. Microsoft Outlook does not support these new security settings yet. For this reason when setting up Microsoft Outlook these new security settings will need to be disabled for the account. To disable this please do the following:

Go to http://accounts.google.com and enter your ScarletMail Email Address. Click Next.
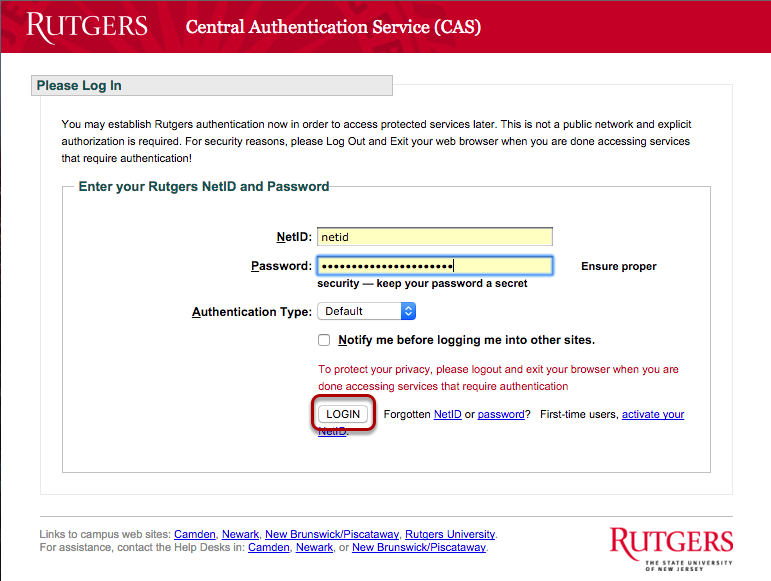
Enter your Rutgers NetID and password. Click Login.
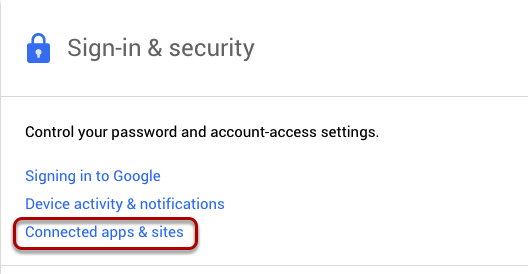
Click on Connected apps & sites under Sign-in & security.
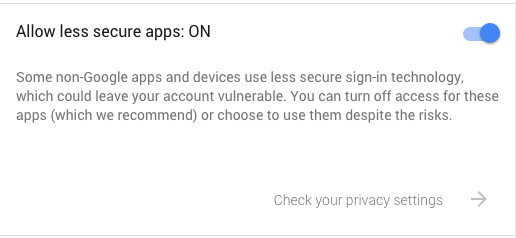
Make sure Allow less secure apps is listed as ON.
-
Create ScarletApps Mobile/IMAP/POP Password
In order to be able to use a mail client with Scarletmail users must create a ScarletApps Mobile/IMAP/POP Password. If they have not done so already please make sure users configure this password before walking them through configuring a mobile email or mail client. NOTE: This password can be different than NetID password since it is configured separately.
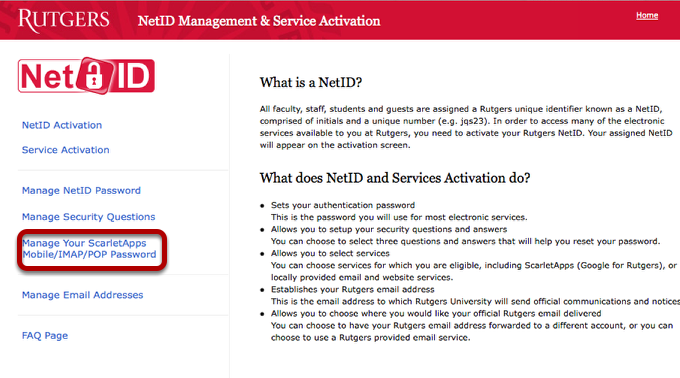
Go to netid.rutgers.edu
Click on Manage Your ScarletApps Mobile/IMAP/POP Password
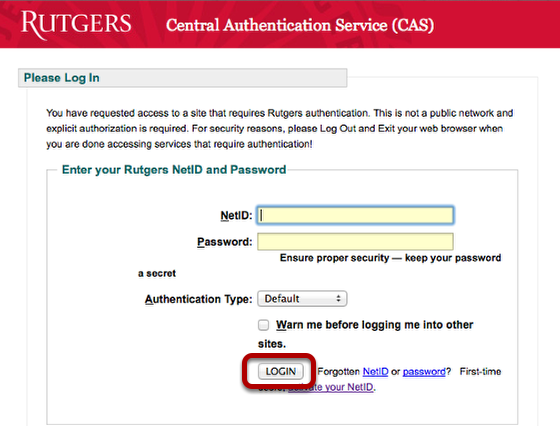
Log in with NetID and password.
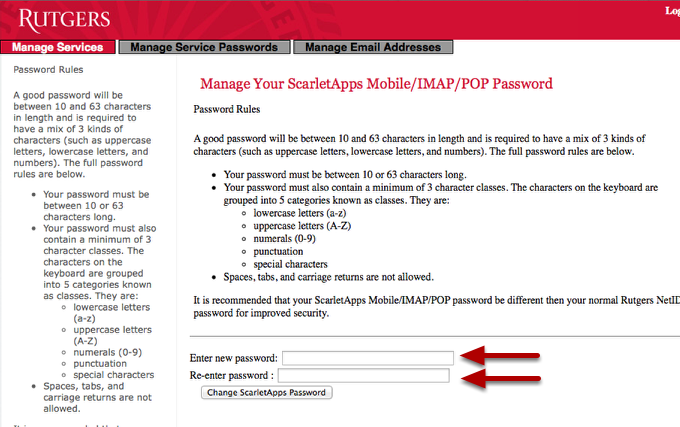
Enter ScarletApps Mobile/IMAP/POP Password. Follow guidelines listed above the box. This password will be used when configuring mobile and desktop email clients.
-
Enable IMAP in Scarletmail
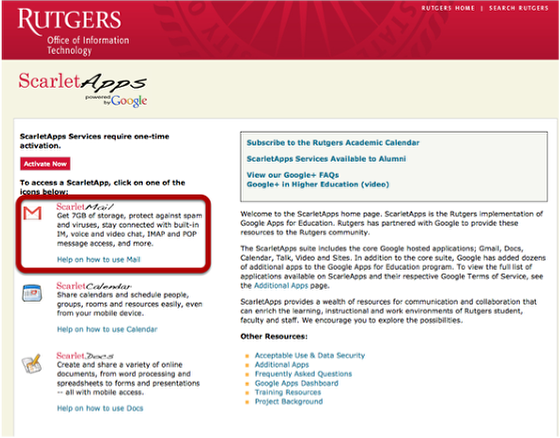
Go to scarletmail.rutgers.edu and click on ScarletMail. Log in with NetID and password.
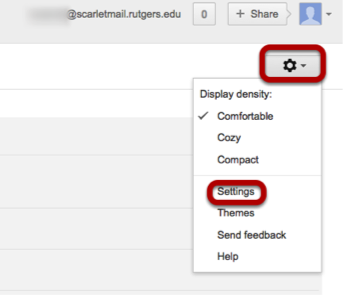
Click on the gear located at the top right of the screen and select Settings.
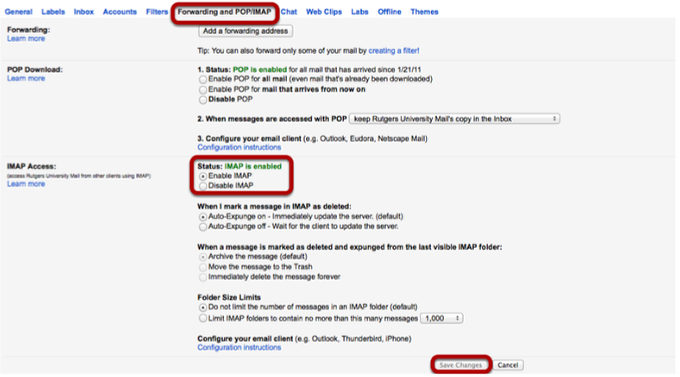
Click on the Forwarding and POP/IMAP tab across the top of the screen. Make sure that the bubble that says Enable IMAP is selected. Click Save Changes at the bottom of the screen. After the settings are saved the Status above the Enable IMAP bubble should say IMAP is enabled in green as shown above.
-
Configuring Outlook with Scarletmail

Open up Outlook. Select Tools and then Account Settings.
Click New.
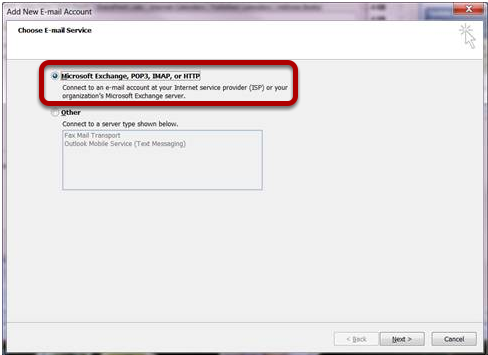
By default Microsoft Exchange, POP3, IMAP, or HTTP should be selected (if using different version of Outlook be sure choice that includes IMAP is selected). Click Next.
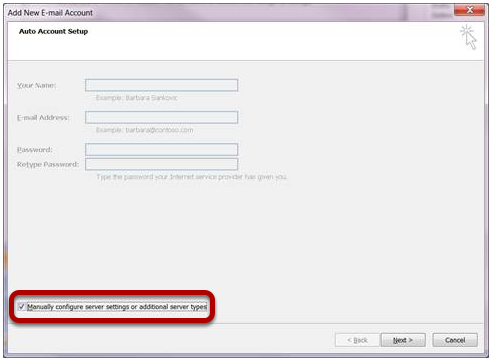
Check the box that says Manually configure server settings or additional server types. Click Next
By default Internet Email is selected. Click Next.
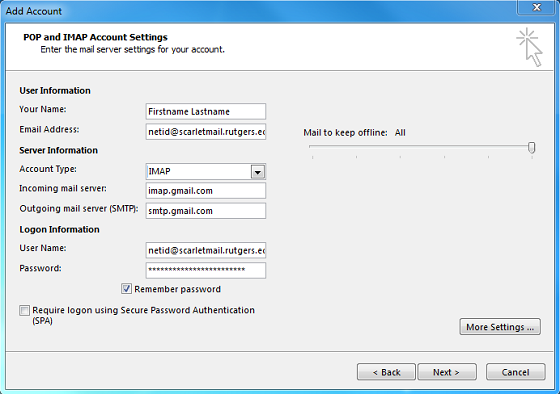
Fill out required information following the guidelines below:
- Your Name: Enter your name as you would like it to appear in the From line of the outgoing messages.
- Email Address: Enter your full email address (netid@scarletmail.rutgers.edu).
- Account Type: IMAP
- Incoming mail server (IMAP): imap.gmail.com
- Outgoing mail server (SMTP): smtp.gmail.com
- User Name: Enter your full email address (netid@scarletmail.rutgers.edu)
- Password: Enter your Scarletmail password. NOTE: This is not the NetID password it is the password configured as the ScarletApps Mobile/IMAP/POP password. It can be the same as the NetID password but is configured separately so may be different.
- Remember Password: This is unchecked by default. If you want Outlook to remember your password, click the Remember Password box.
- Require logon using Secure Password Authentication (SPA): Make sure this box is un-checked.
After entering all of the above information, click on More Settings.
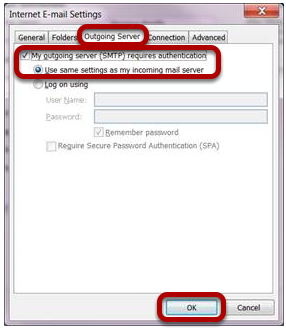
- Click the tab that says Outgoing Server.
- Check the box that says Use same settings as my incoming mail server.
- Click the bubble underneath that says Use same settings as my incoming mail server.
- Click on the Advanced tab.
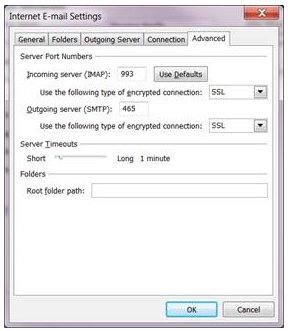
- Under Incoming server (IMAP), select SSL from the drop down box next to Use the following type of encrypted connection. Also, enter 993 in the Incoming server (IMAP) box.
- Under Outgoing server (SMTP), select SSL from the drop down box next to Use the following type of encrypted connection and enter 465 or 587 in the Outgoing server (SMTP) box.
- Click OK to save settings.
- Click Next and then Finish.
Scarletmail should now be configured on Outlook.